
Introduction:
Chocolate sticks are a delightful, simple, and versatile treat that combines the richness of chocolate with the crunch of various coatings. Whether you’re making them for a special occasion, gifting them, or simply enjoying a sweet snack, these homemade chocolate sticks are sure to satisfy your sweet tooth. Perfect for both kids and adults, they can be customized to suit different tastes with a variety of coatings and fillings.
Ingredients:
200g Dark chocolate (or milk chocolate, depending on preference)
1/2 cup crushed nuts (almonds, hazelnuts, or pistachios)
1/4 cup sprinkles (optional, for decoration)
1/4 cup coconut flakes (optional)
1/4 teaspoon sea salt (optional, for a touch of contrast)
1 teaspoon vanilla extract (optional, for enhanced flavor)
Instructions:
Prepare the Chocolate:
Break the chocolate into small pieces and melt it.
You can do this by placing it in a heatproof bowl over a pot of simmering water (double boiler method), or you can microwave the chocolate in 30-second intervals, stirring in between until completely melted.
Prepare the Coatings:
While the chocolate is melting, prepare your coatings.
Crush the nuts, coconut flakes, or any other ingredient you’re planning to use.
Arrange them in shallow bowls or plates.
Form the Sticks:
Once the chocolate has melted, let it cool slightly.
Then, dip each stick or thick piece of your chosen object (like a pretzel stick, biscuit, or fruit) into the melted chocolate, ensuring it’s fully coated.
Coat the Sticks:
After dipping the chocolate sticks into the melted chocolate, roll them in your chosen toppings.
For example, you can roll them in crushed nuts, coconut flakes, sprinkles, or sea salt.
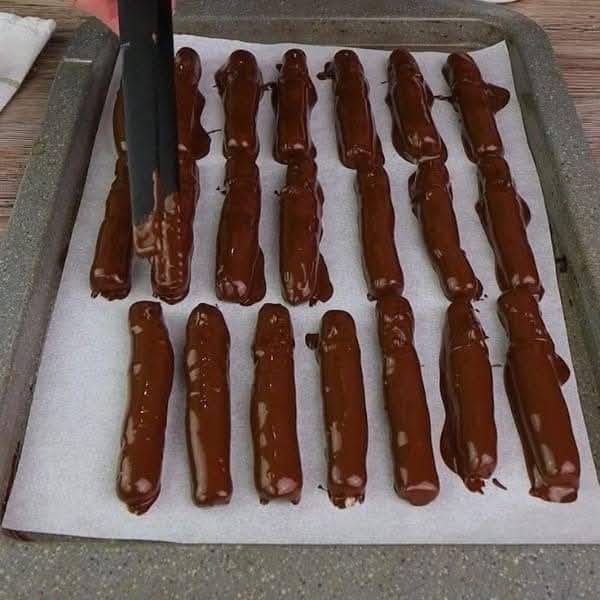
Set and Cool:
Lay the coated chocolate sticks on a parchment paper-lined tray.
Place the tray in the fridge for about 30 minutes, or until the chocolate is fully set and firm.
Serve:
Once set, remove the chocolate sticks from the fridge.
Serve them as a snack, treat, or gift them as an indulgent, homemade present.
Description:
These chocolate sticks are a fun, customizable, and indulgent treat.
By melting your favorite type of chocolate and rolling it in various toppings, you can create a snack that fits any occasion or taste preference. Whether you prefer nuts, sprinkles, or even a bit of sea salt to contrast the sweetness of the chocolate, there are endless ways to enjoy this treat.
The recipe is easy to follow and can be adapted for various dietary needs or personal preferences.
Tips:
Use High-Quality Chocolate: The key to rich-tasting chocolate sticks is using high-quality chocolate.
Dark chocolate offers a more intense flavor, while milk chocolate is sweeter and creamier.
Add Flavors: For extra flavor, consider adding a dash of vanilla extract or a sprinkle of cinnamon or espresso powder to the melted chocolate.
Make Them Colorful: Use different types of sprinkles (like rainbow or chocolate sprinkles) to make the sticks more visually appealing, especially for kids.
Storage: Keep the chocolate sticks in an airtight container in a cool, dry place.
They should stay fresh for up to a week, or longer if refrigerated.
For Vegan Options: Use dairy-free chocolate and vegan-friendly coatings like shredded coconut and nuts.
Variations:
Fruit Dipped Chocolate Sticks: Instead of using cookies or pretzels, try dipping fruits like strawberries, bananas, or apple slices into the melted chocolate for a healthier twist.
Nut-Free Version: If you have a nut allergy, skip the crushed nuts and go for other toppings like crushed cookies, marshmallows, or dried fruits.
Spicy Chocolate Sticks: Add a pinch of chili powder or cayenne pepper to the melted chocolate for a spicy kick.
Caramel Drizzle: After the chocolate has set, drizzle with caramel sauce for an extra layer of sweetness and flavor.
Correction:
If you find that the chocolate is not setting well after refrigeration, ensure that you have cooled it slightly before dipping the sticks, as very hot chocolate can result in a soft texture.
Additionally, make sure you have chilled the chocolate sticks long enough to allow the chocolate to harden completely.
Enjoy:
Now that your delicious chocolate sticks are ready, enjoy them with friends, family, or all by yourself! These treats are great for any occasion, from a party to a casual movie night.
Don’t forget to get creative with your coatings and toppings, making each chocolate stick uniquely yours!